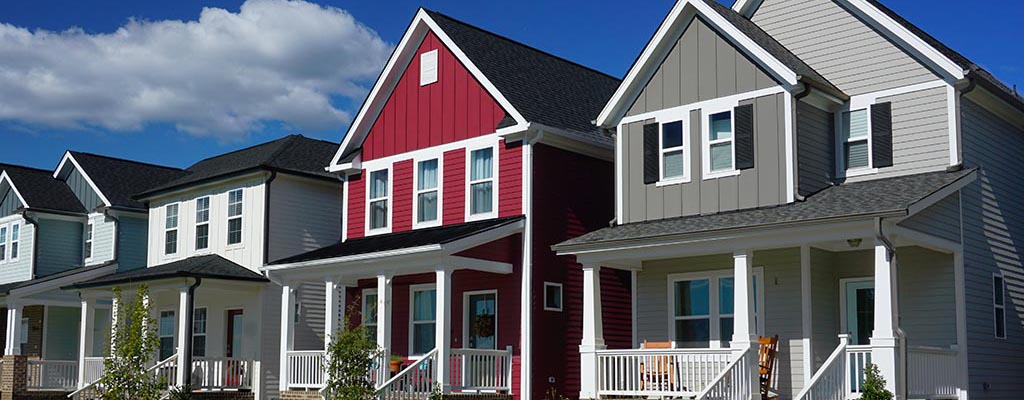
Our Process for Residential Exterior Painting Services
PROFESSIONAL SEATTLE EXTERIOR HOUSE PAINTER
Our 10 Step Exterior Painting Process
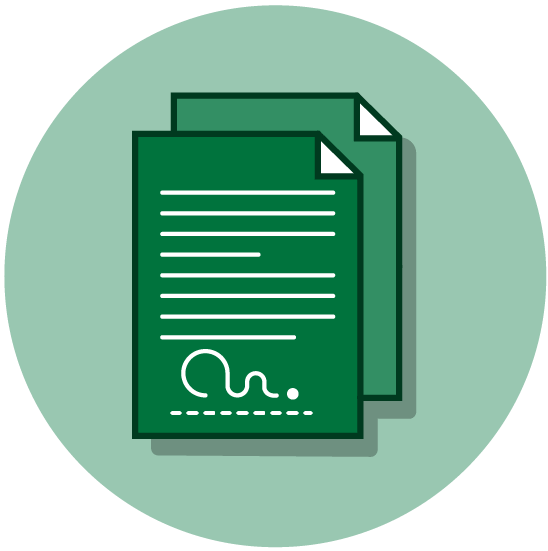
Step #1: A Free, Detailed, Multi-Page Estimate
You’ll be given a free, detailed, multi-page estimate that spells out everything we’ll be doing and how much it will cost.
During the estimate I will:
■ Inspect the outside of your home and identify any problem areas that need to be repaired before painting.
■ Use a laser-guided measuring tool to figure out exactly how much paint we need, so you won’t have to pay extra for unused paint.
■ Go over what colors you’d like to use. And if you’re not sure what color you’d like to use, we’ll work together to find a color that’s aesthetically pleasing, speaks to your personality, and works well in your neighborhood.
I’ll also listen to everything you have to say and answer any questions you have.
Once we’re done you’ll receive a “fixed-price” estimate. This is an estimate that lines up perfectly with the final cost, so you won’t have any last minute financial surprises to deal with.
Quick Note: I recommend you get estimates from at least 3 other painting companies, so you’ll have something to compare our estimate to. You’ll usually find that our estimate comes out right in the middle: not too high, not too low – just a fair, reasonable, and competitive price for a high-quality paint job.
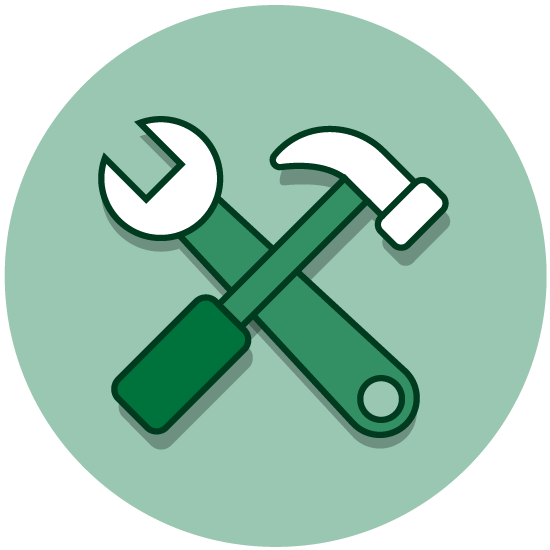
Step #2: Repairs
This is where I fix any problem areas, including:
■ Replacing rotten siding
■ Reattaching loose siding
■ Repairing damaged siding
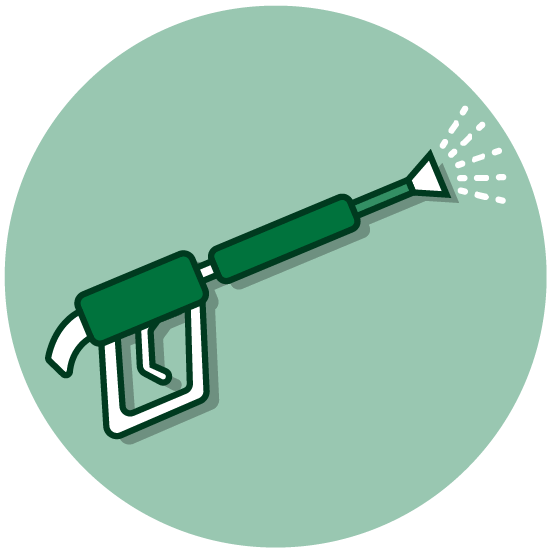
Step #3. Pressure Washing
We’ll be using a pressure washer to remove any dirt, grime, mold, or mildew that’s stuck to your house. I’ll also make sure we use the correct pressure settings, so your home won’t be damaged by the pressure washer.
And, if you’d like, I can add an environmentally friendly cleaning agent that’s designed to inhibit the growth of mold and mildew. This will keep the exterior of your home looking fresh for longer.
The pressure washing will be conducted a few days prior to painting your home so the outside of your home has time to dry. This is important because it’s easier for the paint to be absorbed into a dry surface, than a surface that’s saturated with water.
Step #4: Protecting Your Property
My crew and I understand that we are guests on your property and will do everything we can to protect it.
■ Landscapes will be covered with heavy duty canvas drop sheets to protect against paint splatter
■ Plants will be covered with lightweight canvas drop sheets, and we’ll be extra careful when dealing with any fragile plants you may have
■ Fixtures will be removed (or masked off) when appropriate
And any other piece of property that could get paint on it will be moved or protected. We’ll even make sure your neighbor’s property is protected, so you won’t get any complaints from them.

Step #5: Removing Old Paint
High carbon steel scrapers will be used to remove any old, loose, or flaky paint.
This is important because it allows the new paint to stick directly to the surface that’s being painted, instead of sticking to an old, loose, or flaky layer of paint that could fly away at any minute.
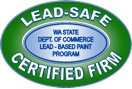
Quick Note: If your house was built before 1978, it’s very likely that it was painted using lead-based paint – which can cause brain damage and learning disabilities in children and pets.
The EPA (Environmental Protection Agency) requires all painters removing lead-based paint to follow extremely strict lead containment procedures. We’ve been certified by the EPA as a Lead-Safe Certified Renovator, and can handle this problem for you if you have it.

Step #6: Puttying & Caulking
Puttying. Nail holes and gouges will be filled with putty and smoothed over. This evens out the surface and guarantees it will blend in once it’s painted over.
Caulking. Cracks, gaps, and seams (no matter how small) will be filled with Sherwin-Williams® PowerHouse brand caulk – which has a 60-year warranty.
This caulk helps improve the look of your paint job, prevents moisture from entering your home, and also adds extra insulation.

Step #7: Priming
Primer is basically “the glue” that causes the paint stick to the surface that’s being painted, and endure many years of varying (and often wet) Pacific Northwest weather.
All primer will be applied by hand using a brush and roller, which helps the primer deeply penetrate the surface of your home – creating a stronger bond for the paint.
We usually use high quality Zinsser® Bulls Eye 1-2-3® primer for all bare wood, metal, concrete, and brick… but if a different type of primer is required for a particular surface we’ll use that instead.
Step #8: Painting
We usually use sprayers to paint the exterior of your home (along with “shields” to prevent overspray, splatters, and drips). These sprayers, with the correct tip sizes and proper pressure settings, allow us to control exactly how much paint gets applied – making sure every square inch of your home gets just the right amount of paint.
This is important because too little paint means your paint job won’t last as long as it should… while too much paint leads to a thick, saggy coat that looks ugly and reduces breathability – which can trap water and cause costly problems like rot, mold and mildew.
We will apply two generous coats of high quality, non-toxic, environmentally friendly Sherwin-Williams® paint to your home. This paint is long lasting and helps to stop dust, dirt, allergens, moisture, mold, and mildew from being absorbed into your walls (which can degrade the structural integrity of your home).
And if you have another brand of paint you’d like to use instead, I’m more than happy to discuss that with you.

Step #9: Clean Up
We clean up as we go so you won’t find trash all over your house.
At the end of each day we carefully pack away all our supplies and organize our tools… making sure nothing is left in your way.
On the final day of the job, we do a full cleanup to make sure your home is spotless and that not a single piece of trash is left behind.
Anything we moved or dismantled will be put back exactly the way we found it.
Quick Note: I usually recommend waiting a few weeks for the paint to dry completely, before fully tightening the screws of anything that was dismantled. This ensures it won’t stick to the wall – or rip paint off the wall – the next time you try to remove it.
Step #10: Final Walkthrough
You and I will do a final (and extremely thorough) walkthrough to make sure you’re 100% satisfied with your paint job.
In the rare event that we find a missed spot or there’s an area that needs retouching, I’ll get it fixed for you immediately. And if you find something after the final walkthrough is over, just give me a call and I’ll swing by to touch it up for you.
And don’t forget that your paint job is covered by our 8 year written warranty. This means that if your paint job starts to fail (bubble, peel, crack, etc.) within 8 years of painting, we guarantee (in writing) that we’ll fix it for you – free of charge.
